Jekyll: Static Sites on the DigitalOcean App Platform
Update in progress: This post is based on an older setup and is being kept for reference while I work on a fuller update.
This tutorial describes how to host your Jekyll static site, including plugins, on the DigitalOcean App Platform.
Requirements
- A GitHub or GitLab account
- A DigitalOcean account
- A Jekyll site that builds successfully on your local machine
- The correct Ruby version set in your
Gemfile
Create your app
The first step is to open the DigitalOcean App Platform. Once you are logged in, click the Create App button as shown below.

Step 1: Select your source
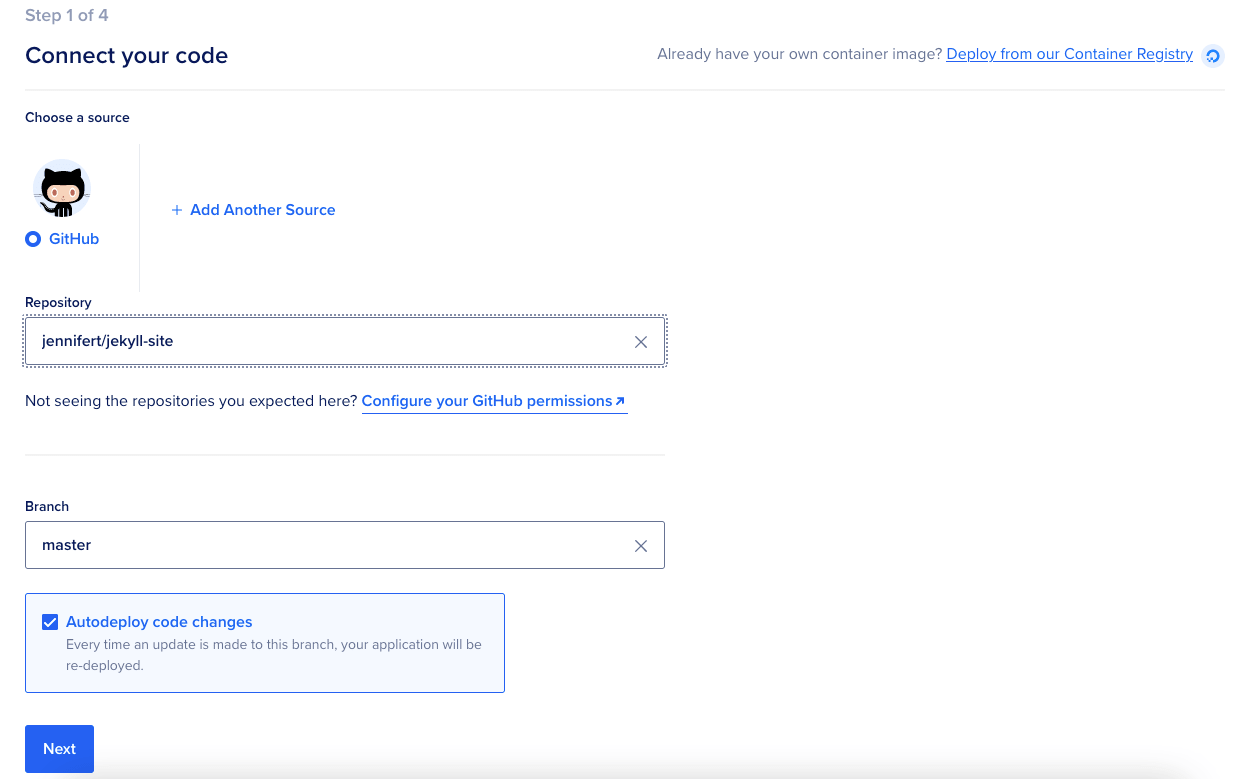
The App Platform supports sources from GitHub or GitLab. Choose one, then allow DigitalOcean to access your repository.
Make sure Auto deploy is selected if you want your site to update automatically whenever you commit code to your repository. Click Next to continue.
Step 2: Configure your app
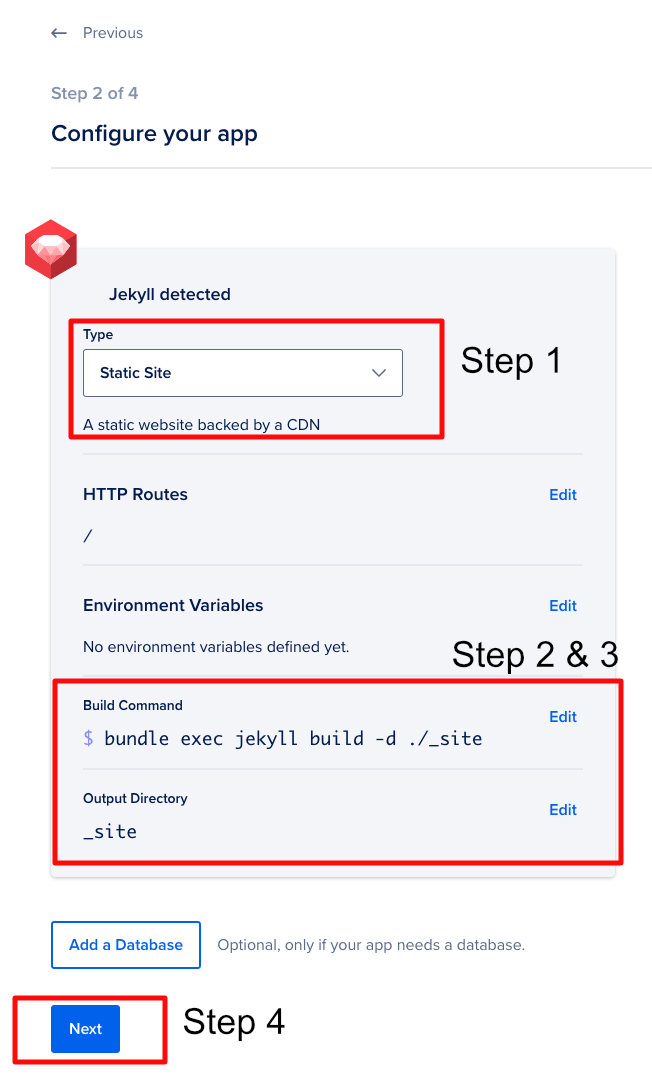
In this section, there are three key things to check for a Jekyll site on the static platform:
- Make sure Static Site is selected, since it may default to Web Service
- Make sure your build command is correct
- Make sure your output directory is set to the folder where the built files will be generated
If anything is incorrect, click Edit, make your changes, and then click Close to save them.
Now click Next to continue.
Step 3: Name your static site
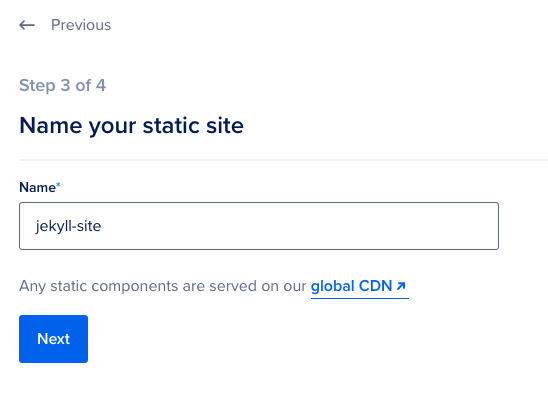
This is the name you will see on your dashboard, and it will also become part of your live URL before you add a custom domain. Choose a name, then click Next.
Step 4: Finalize and launch
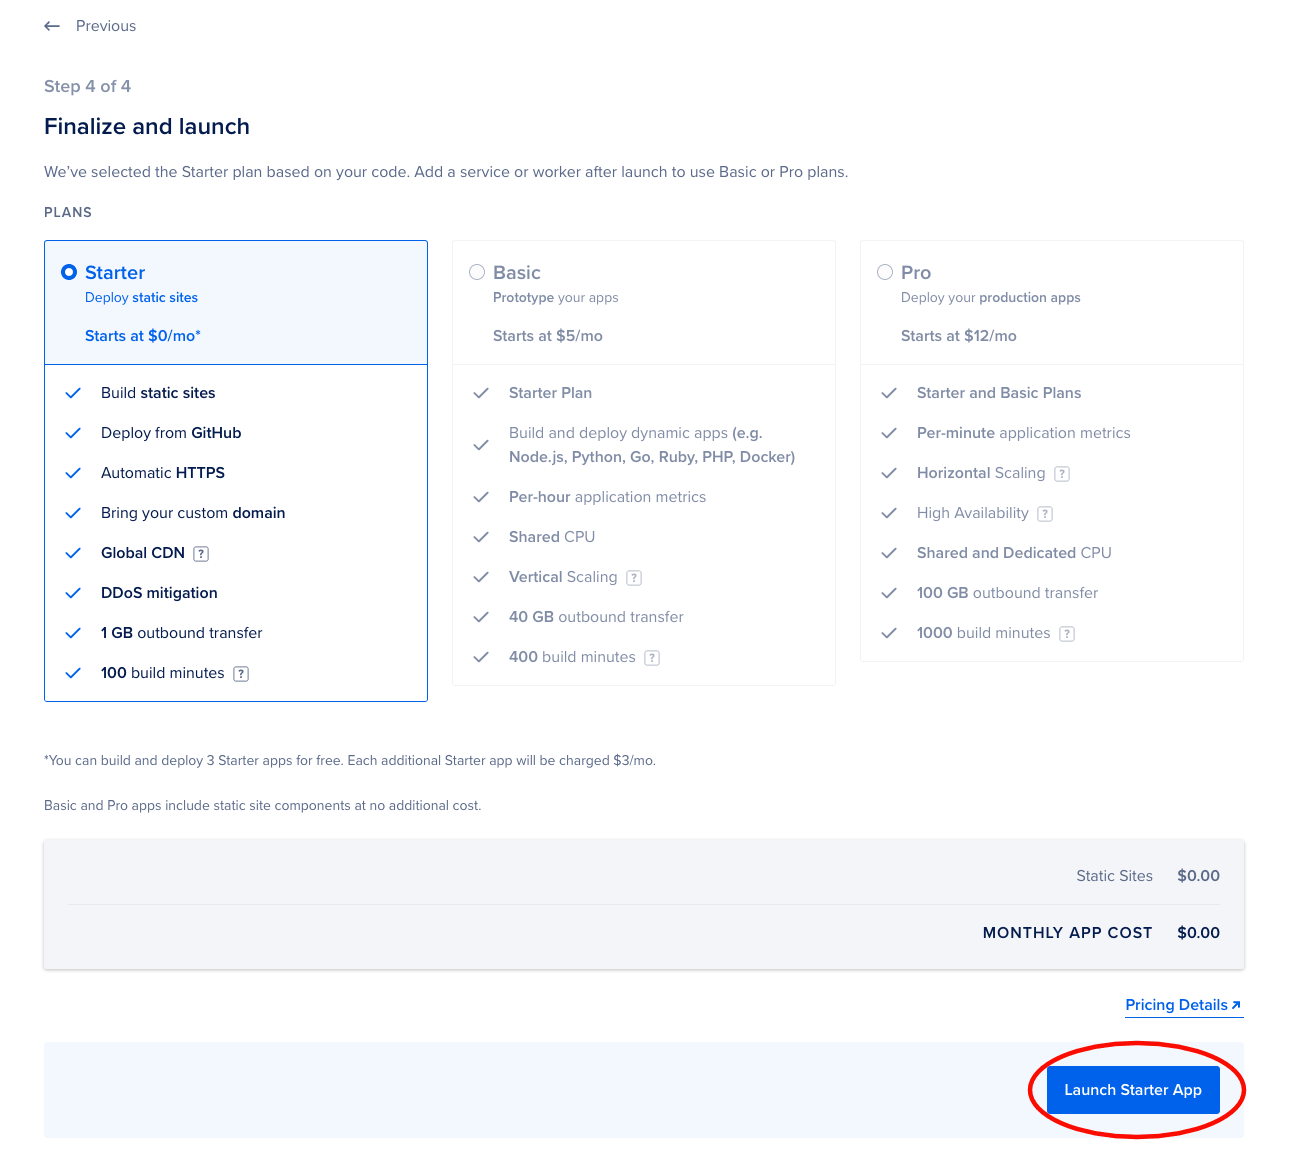
The Starter plan should be selected by default for a static site. If another option is selected, change it to Starter.
Finally, click Launch Starter App.
Initial deploy
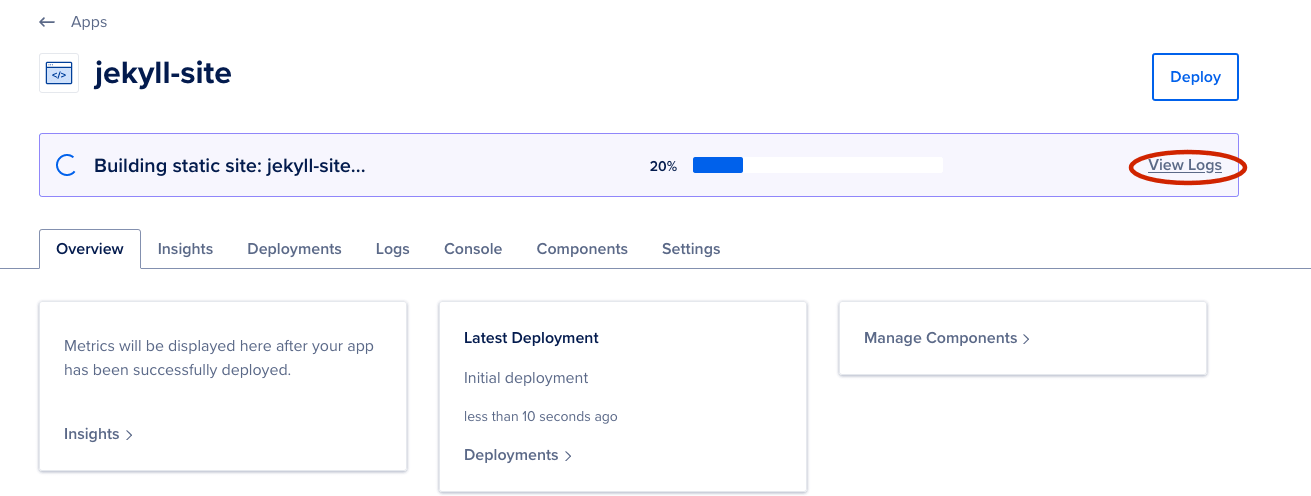
The page should now look similar to the image below, showing the current build status and other deployment information. Click View Logs in the build status message to see the live output while your app is being built.
Fixing a build error
If you are not building on a Linux machine locally, you may run into an error about an unsupported platform.
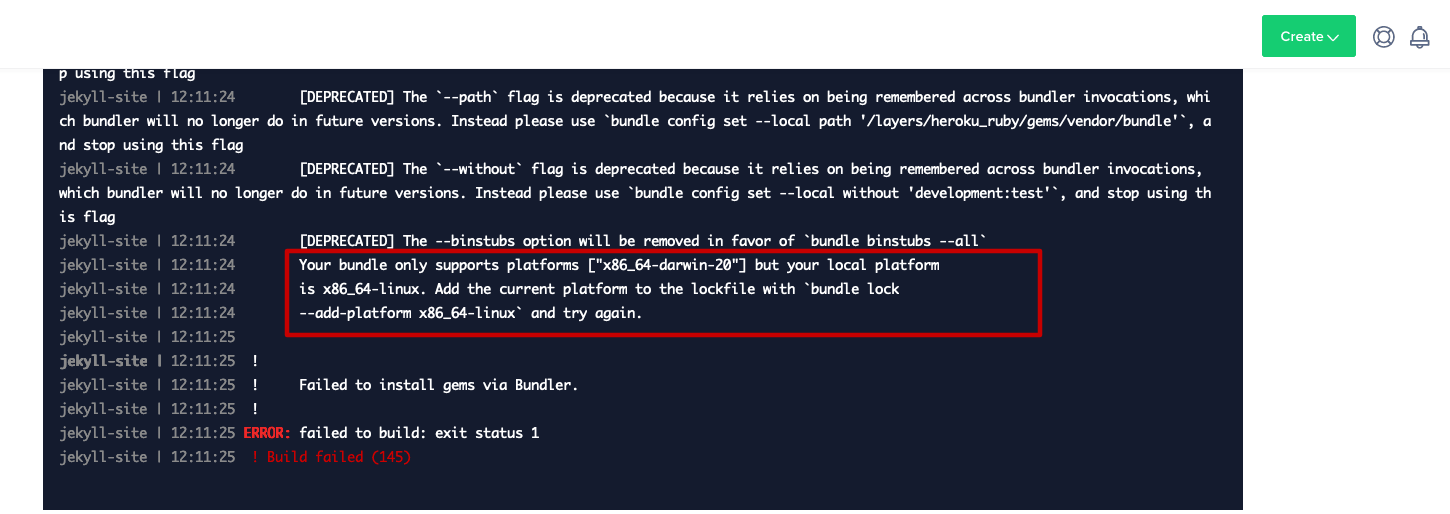
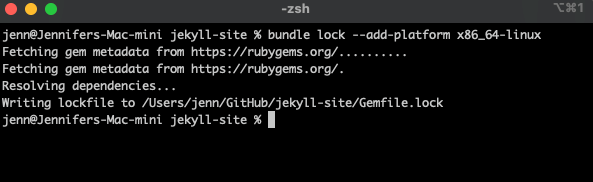
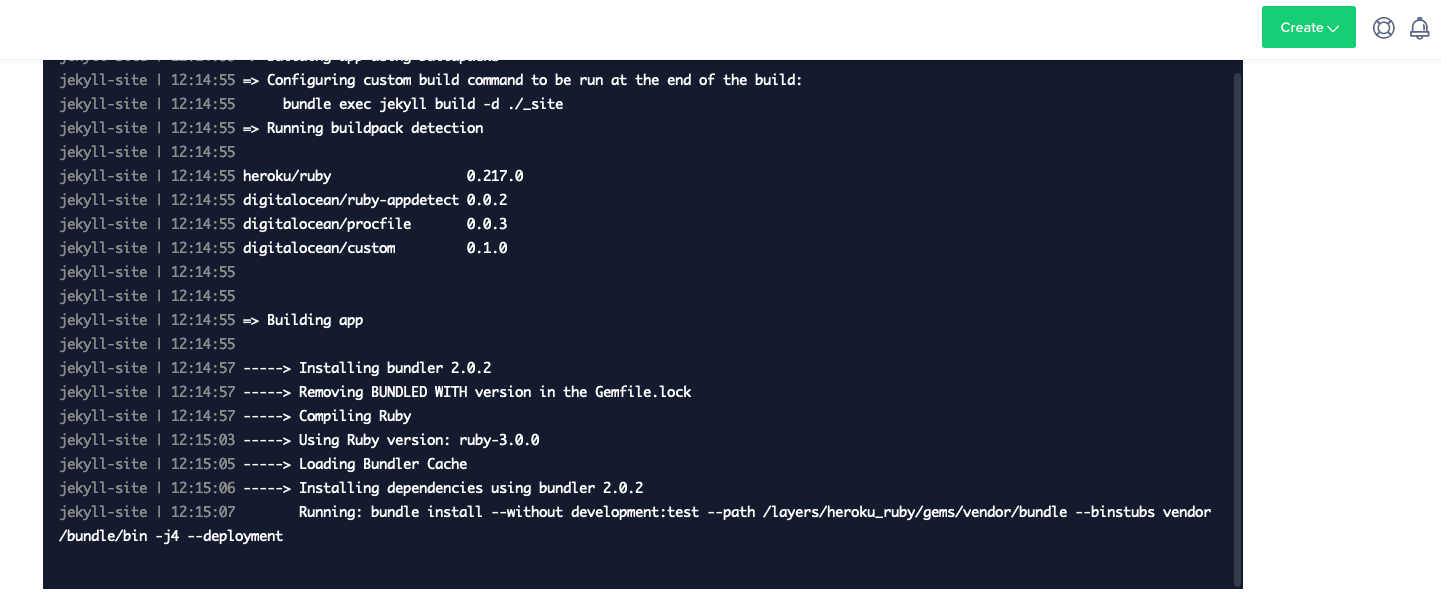
In your terminal, you may need to add the Linux platform to your lockfile, following the instructions shown in the server log output. In my case, I needed to run:
bundle lock --add-platform x86_64-linux
The image below shows the terminal output.
Be sure to commit your changes to your remote repository. Your site should then automatically try to build again. If you have Auto deploy turned off, you will need to deploy manually from the App Platform interface.
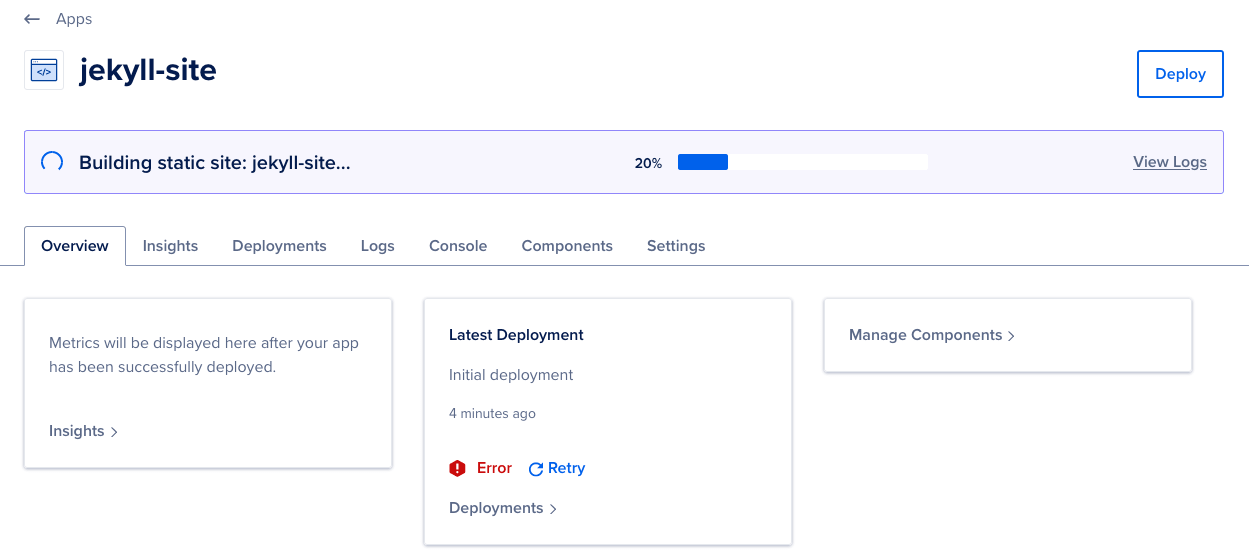
Click View Logs again from the build status message to check the new status. If it still fails, for example because of missing packages, add them to your bundle and recommit your files.
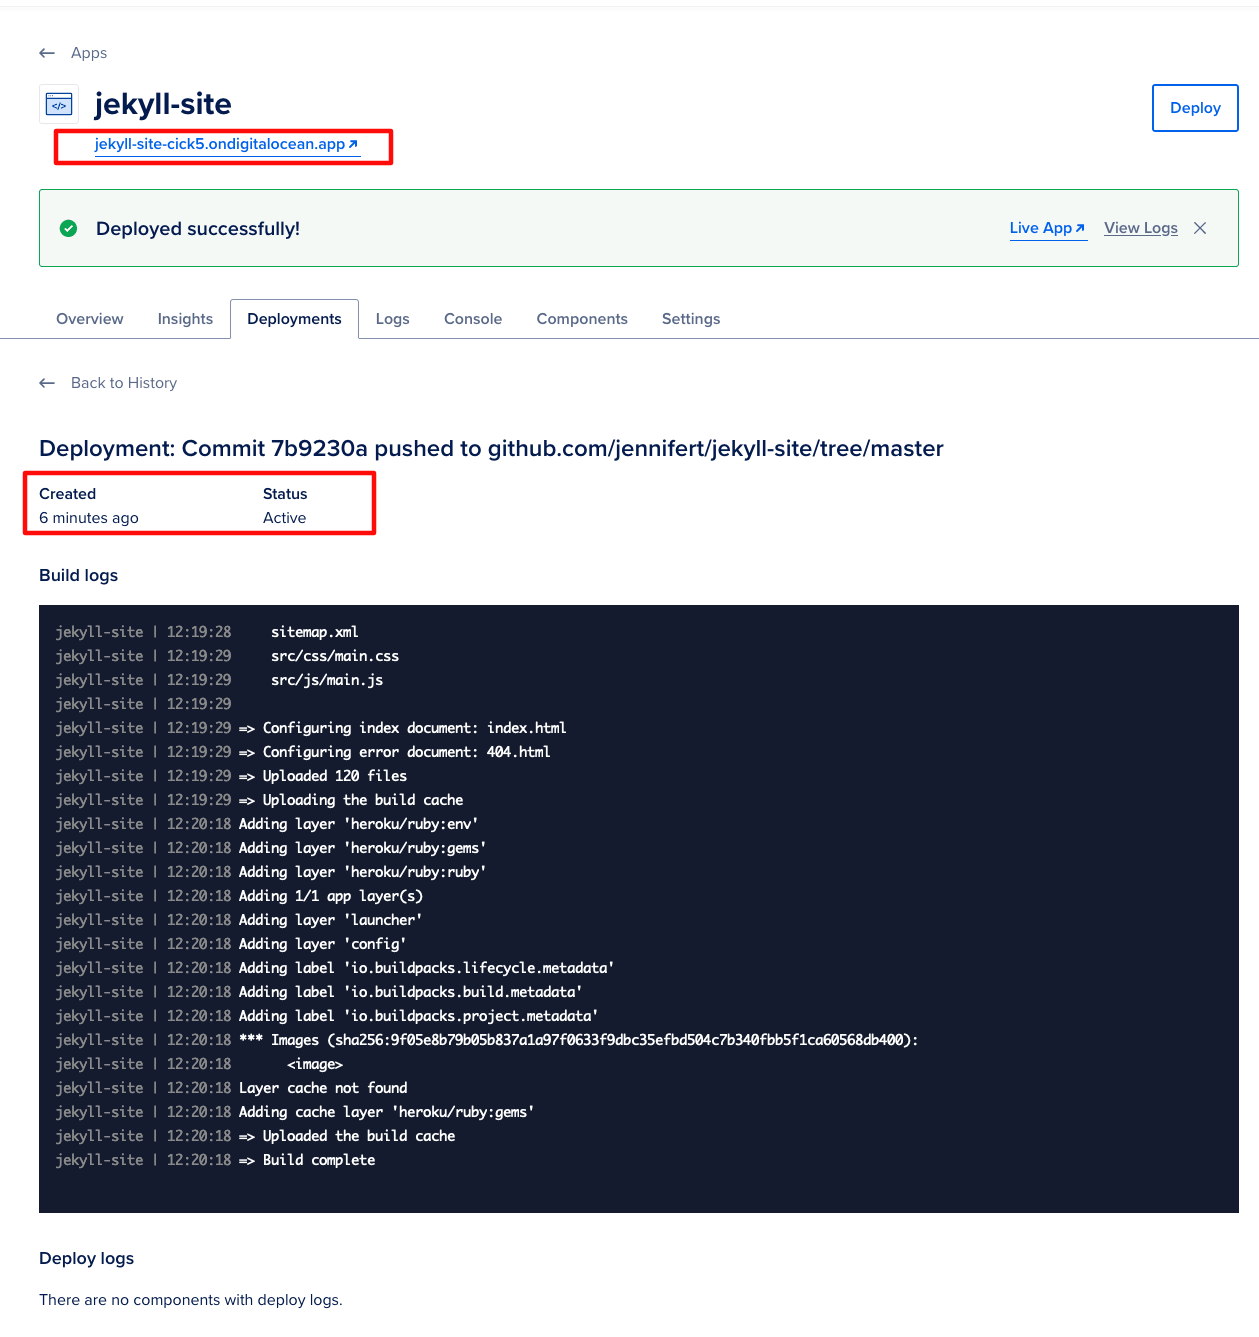
Once the build succeeds, the interface will update with your live link. Click the DigitalOcean domain to view your site. In my case, the URL was:
https://sea-lion-app-g2mm7.ondigitalocean.app/
This link is no longer active, but the process is the same.
Configure your custom domain
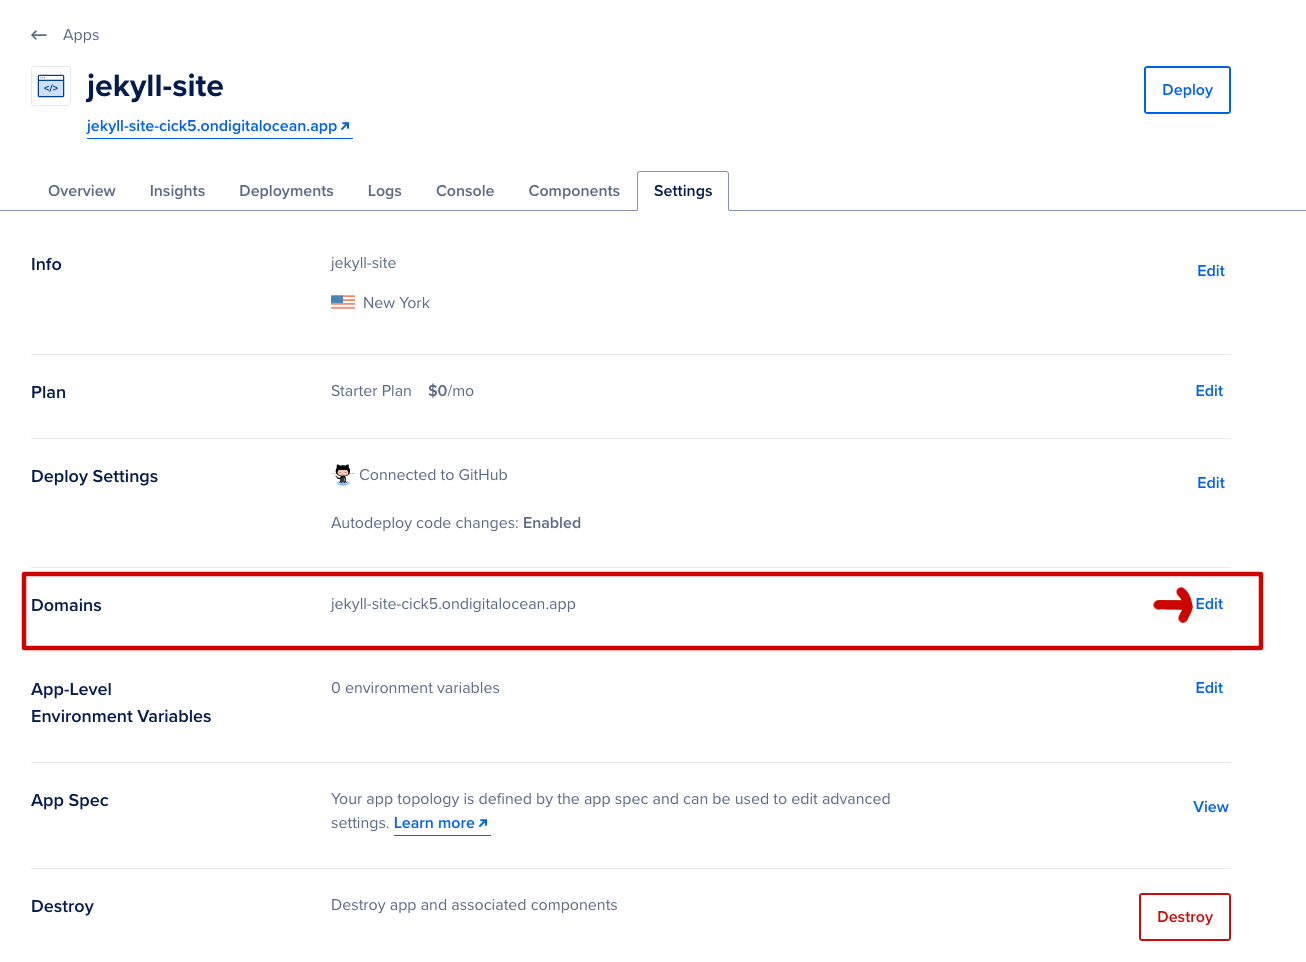
For this step, click the Settings tab, then scroll down to the domains section and click Edit.
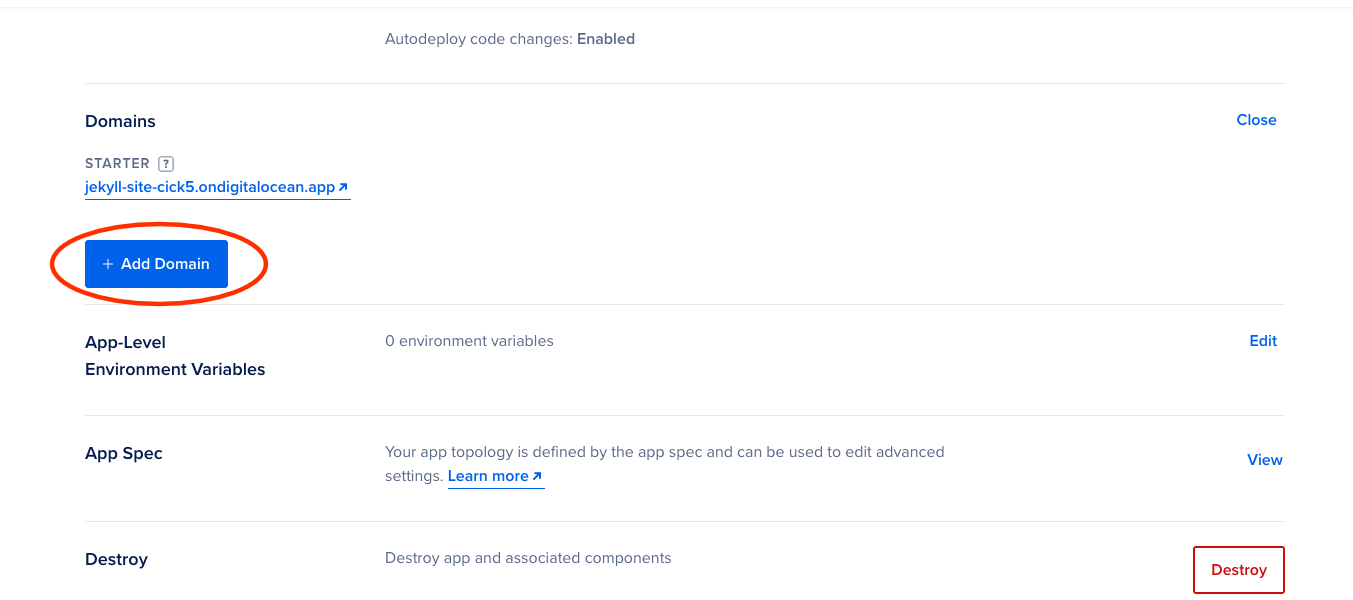
An Add button will appear under your current site. Click it to continue.
You will be taken to a screen titled Add Domain. Enter your domain name, then choose whether you want DigitalOcean to manage the DNS or whether you want to add a CNAME yourself. In my case, I selected DNS.
For more information on the difference, see How to Manage Domains in App Platform.
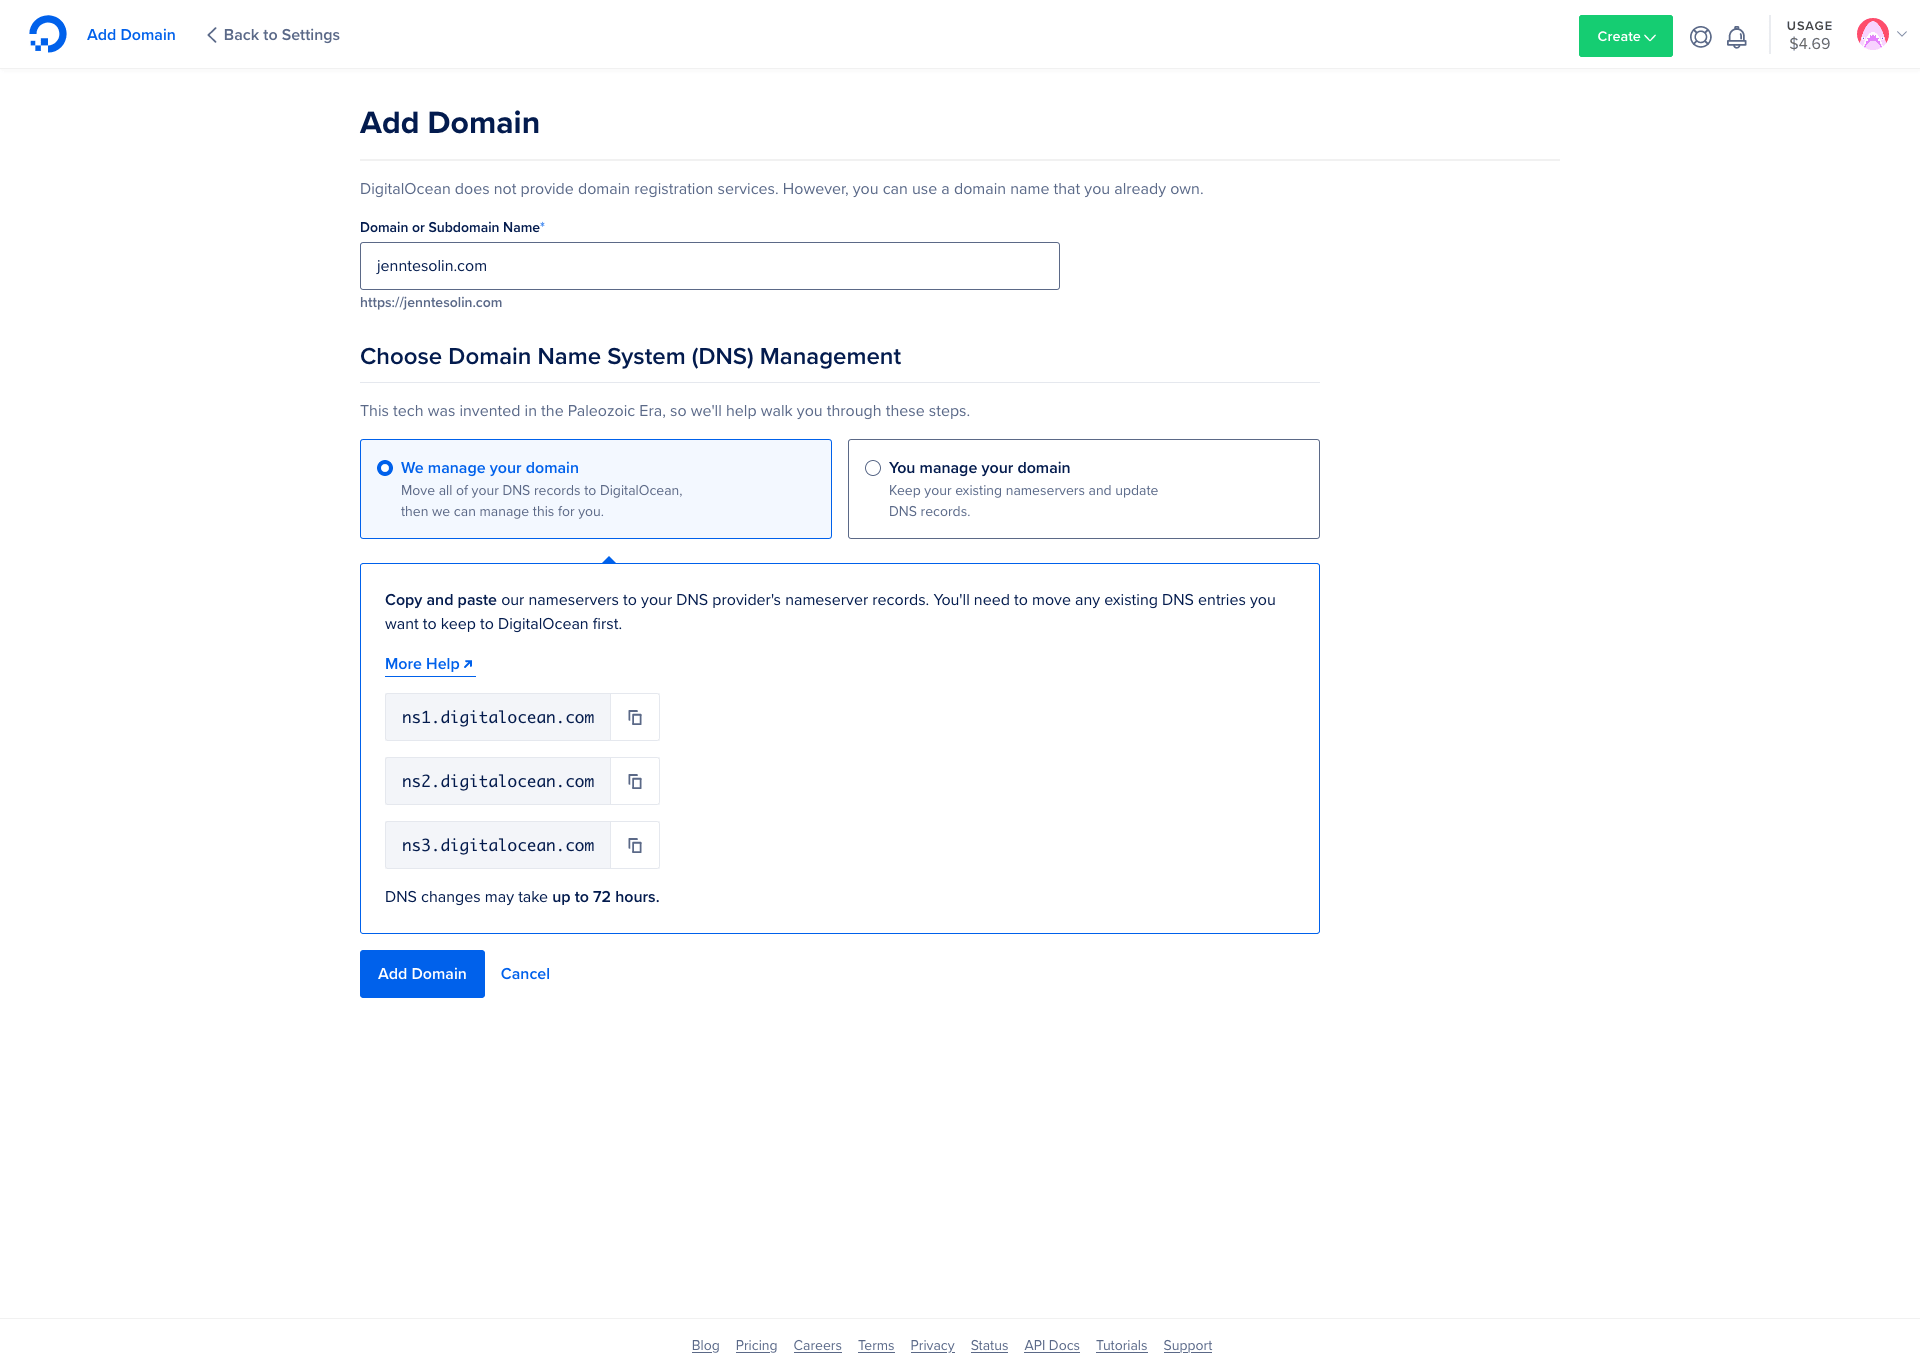
You should add your DNS or CNAME settings in your domain manager first, then wait for DNS propagation. Once that has had time to update, return to the Add Domain page and click Add Domain.
After that, the page will redirect back to the domain settings section. You should see the custom domain marked as Pending. It may take additional time for App Platform to finish the rest of the configuration.
Once it completes, you should see a success message and additional details.
When the status becomes Active, repeat the process to add www as a subdomain if needed.
That’s it. At that point, you just need to wait for the domain updates to finish propagating.