Installing Homebrew and Fixing Ruby on macOS
Update in progress: This post is being kept for reference while I work on a fuller update.
Getting ready
Step 1: Open Terminal
Search in Launchpad or Spotlight for Terminal.app.
Step 2: Accept the license agreements
Copy and paste the commands below into your terminal. Be sure to read and accept the agreements.
xcode-select --install
sudo xcodebuild -license
Step 3: Check whether Ruby is installed
Make sure you can run Ruby from the command line by typing:
ruby -v
Install Homebrew
Homebrew is a package manager for macOS. In this post, it is being used to help work around the older default Ruby version that comes with macOS. It can also be used later to install other development tools.
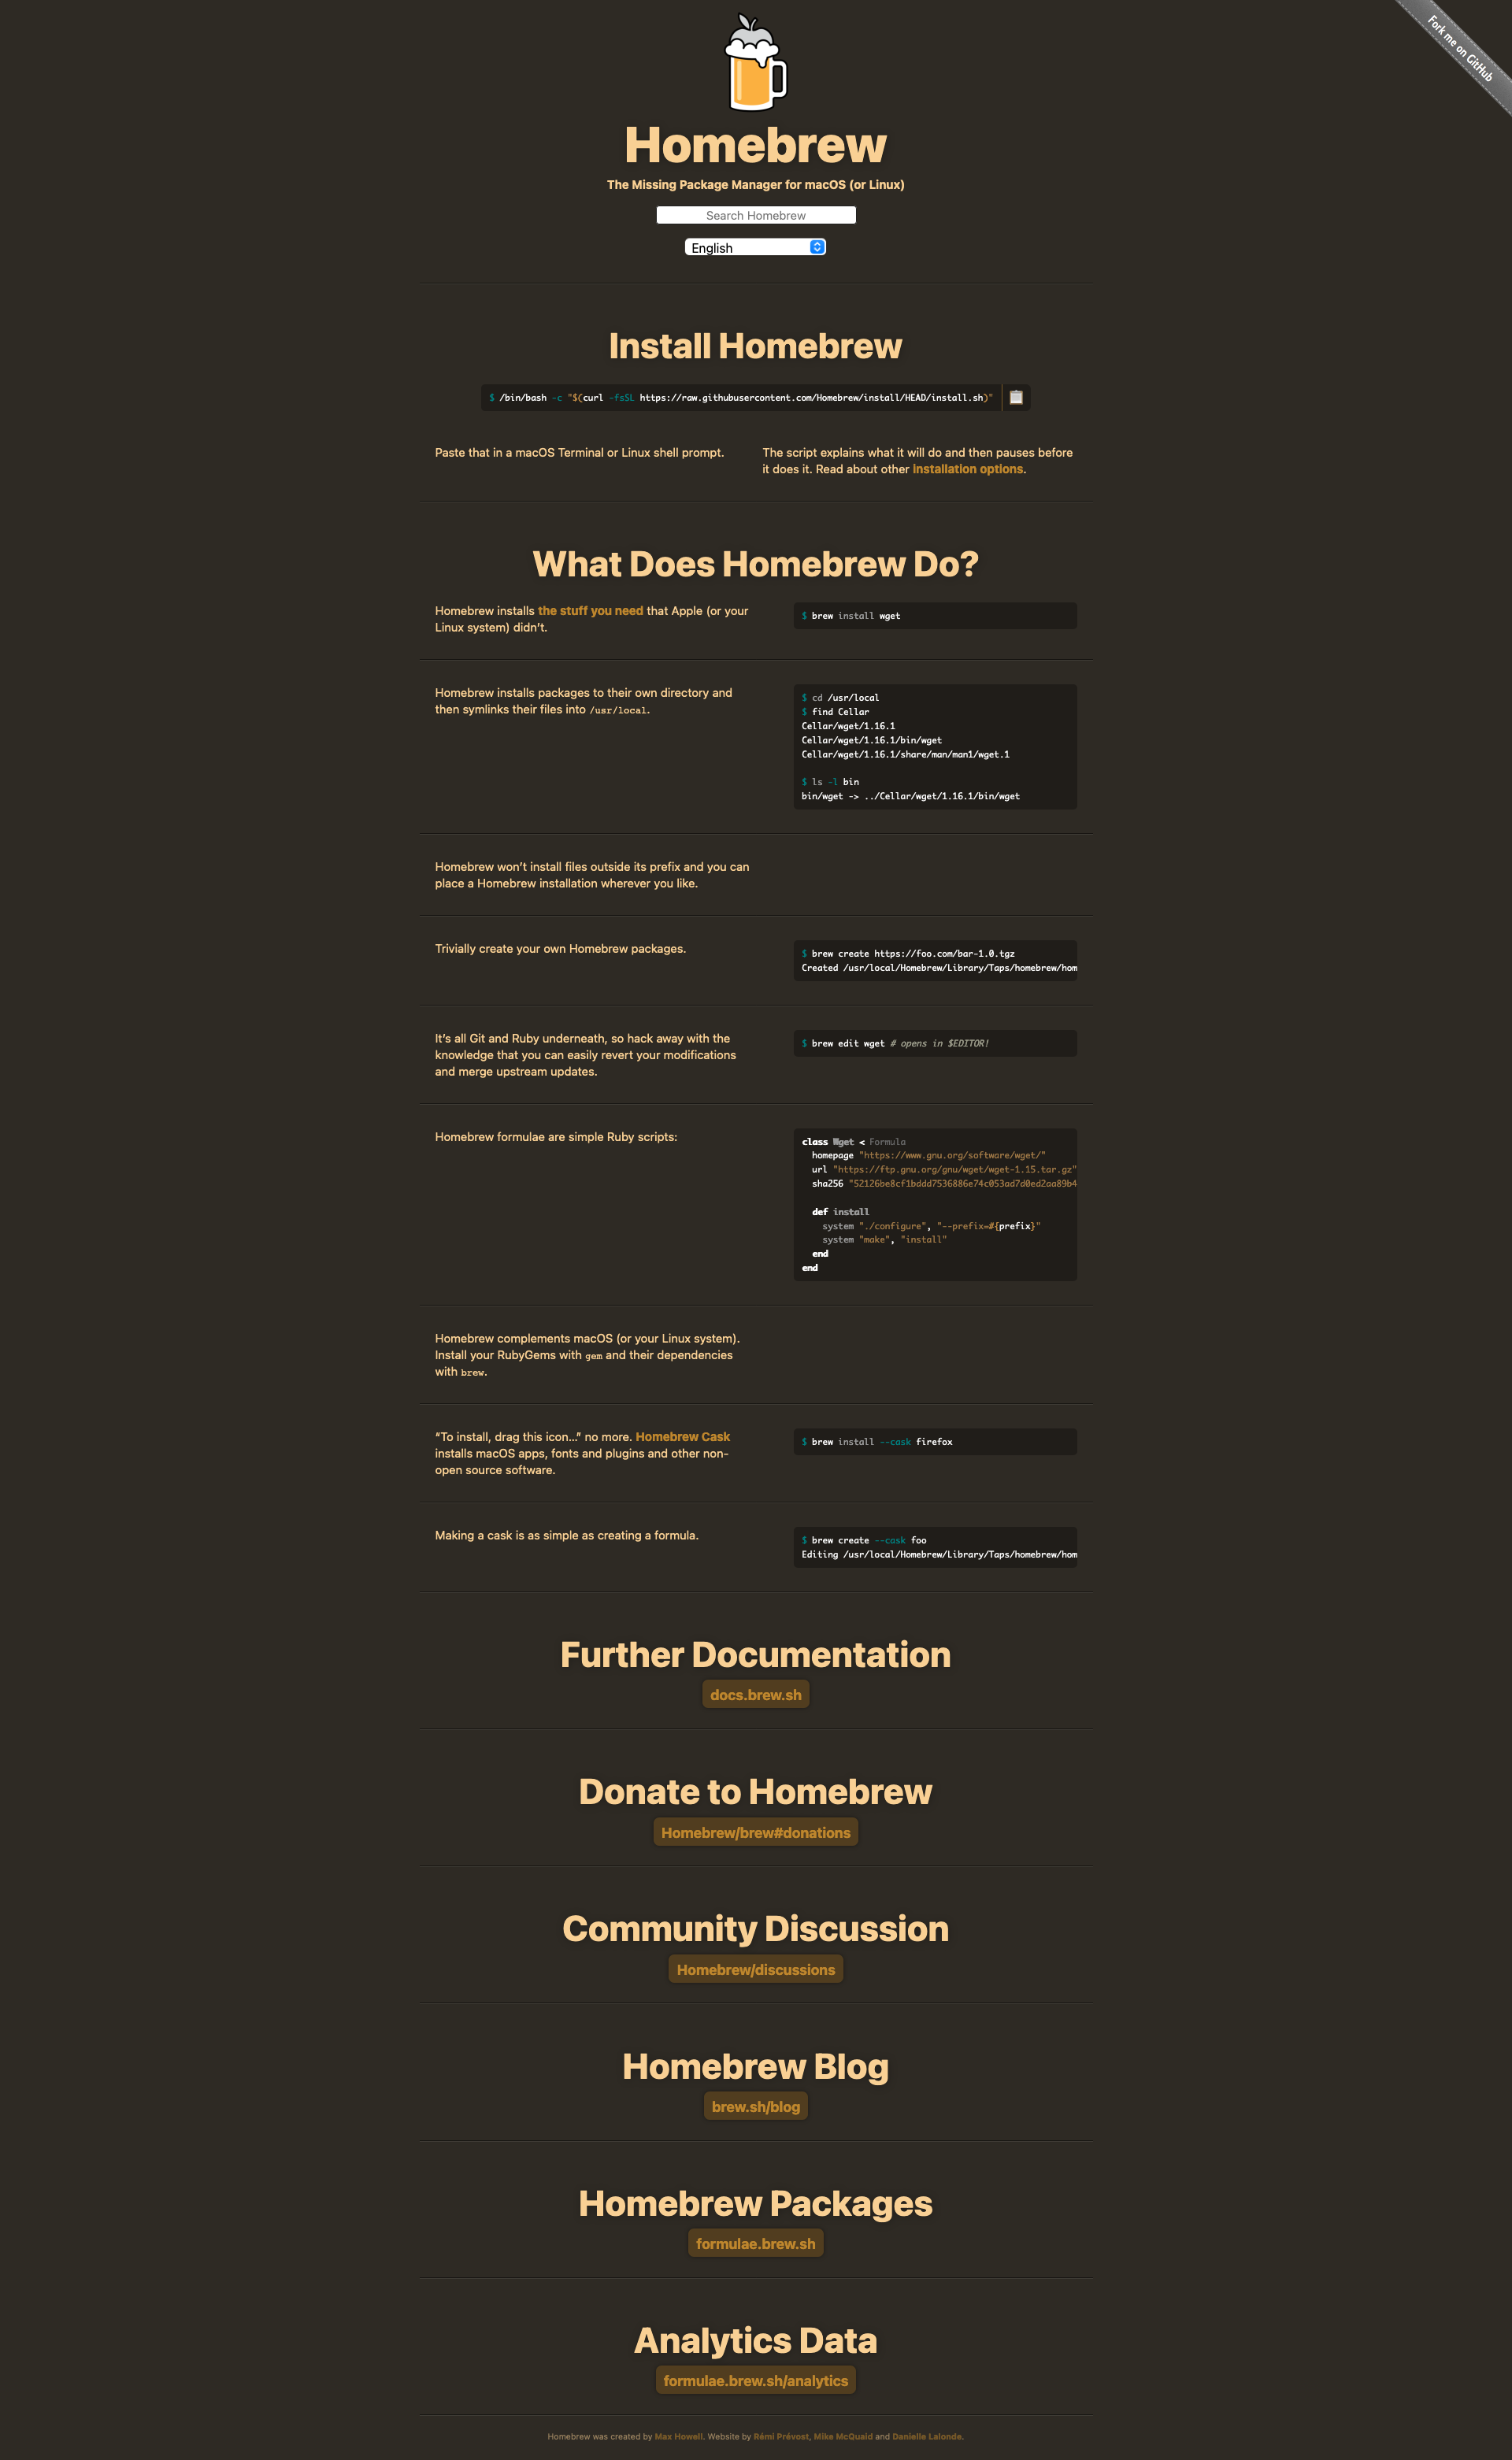
Copy the install script
Go to the Homebrew site at brew.sh, copy the latest install command, and run it in the terminal. It should look something like this:
/bin/bash -c "$(curl -fsSL https://raw.githubusercontent.com/Homebrew/install/HEAD/install.sh)"
Once the install is complete, it is a good idea to run the commands below to confirm the installation is working and fully up to date.
brew doctor
Update Homebrew packages
To update packages, run brew update and brew upgrade like below:
brew update
brew upgrade
Once in a while, you may also want to clean up unneeded files with:
brew cleanup
Install some Homebrew packages
You can install a package, called a formula, either one at a time or in batches.
One at a time:
brew install wget
Or several at once:
brew install wget node python@3
ffmpeg
ffmpeg is a useful library for converting video and handling other media tasks. To install it with the default settings:
brew tap homebrew-ffmpeg/ffmpeg
brew install homebrew-ffmpeg/ffmpeg/ffmpeg
Check the Homebrew ffmpeg repository for more options: ffmpeg GitHub repository
MongoDB
Installing MongoDB is similar to ffmpeg. Run the following:
brew tap mongodb/brew
brew install mongodb-community
To run it as a background service:
brew services start mongodb/brew/mongodb-community
To run it on demand in the terminal:
mongod --config /usr/local/etc/mongod.conf
Enable and install casks
Casks are applications that you can install directly through Homebrew instead of downloading a file manually. I like using casks because they can also run verification checks and show errors more clearly if something goes wrong.
brew tap homebrew/cask-versions
At the time of writing, I could not find a way to bulk install casks, so they needed to be installed one at a time by replacing "firefox" with the cask name.
brew install --cask firefox
A few useful casks are listed below. To find more, check the Homebrew formulae site.
For some installations, if they fail, try again after enabling them in:
System Preferences → Security & Privacy → General
- visual-studio
- figma
- valentina-studio
- virtualbox
- virtualbox-extension-pack
- github
- vlc
- handbrake
- iterm2
- spotify
- sequel-pro
- firefox
- keepassxc
- visual-studio-code
- calibre
- appcleaner
- tor-browser
- jetbrains-toolbox
- xampp
- google-chrome
- dash
- netbeans
- adoptopenjdk
- postman
If you want to run multiple Java versions, check out this guide: Installing Java on a Mac using Homebrew and jenv
Update Ruby and installed gems
Run the following command:
brew install ruby
Next, make sure you add Ruby to your shell configuration. Below is the shell setup for the default terminal in Big Sur:
echo 'export PATH="/usr/local/opt/ruby/bin:$PATH"' >> ~/.zshrc
exec zsh
exec zsh will restart your terminal so the updated path takes effect. If you do not want to run that command, simply type exit, then quit Terminal and reopen it.
Next, update your Ruby gems:
gem update --system
gem update
If you want to manage multiple Ruby versions instead, follow this DigitalOcean guide: How to install Ruby on Rails with rbenv on macOS